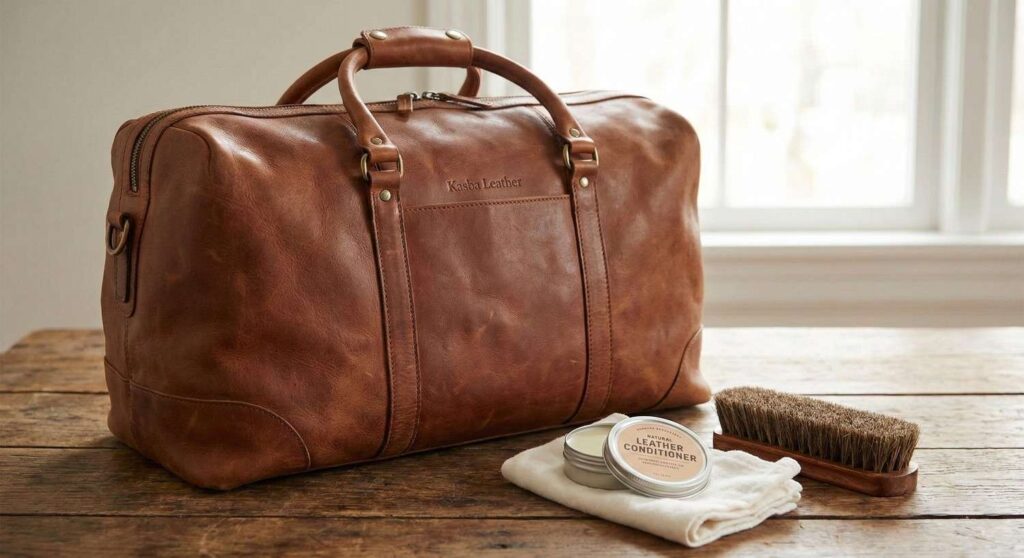
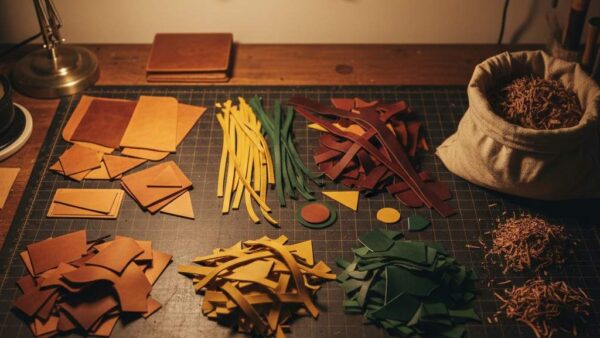
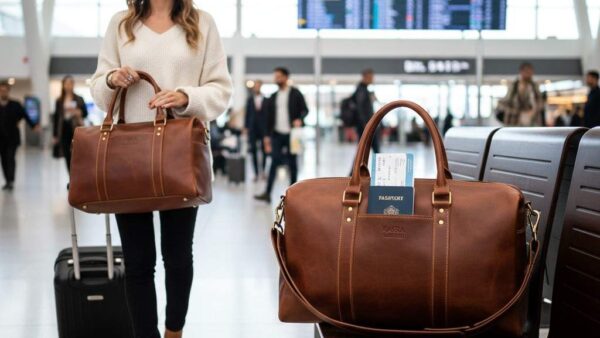
When you buy a piece from Kasba Leather, you aren’t just buying an accessory for the current season. You are investing in a life companion. Our artisans in Morocco craft every bag, belt, and wallet using robust full-grain leather designed to endure heavy use and rugged adventures.
But even the toughest companion needs a little care.
Think of leather for what it is: an organic material. Just like your own skin, it can dry out, crack, and lose its luster if left unprotected by the elements. Wind, sun, heating, and air conditioning all strip away the natural oils that keep leather supple.
The good news? Bringing it back to life is easy, deeply satisfying, and the secret to developing that rich, coveted patina that tells the story of your travels.
Here is the ultimate, master-level routine for conditioning your leather goods.
Why Condition at All?
Before we get to the “how,” let’s briefly touch on the “why.”
During the tanning process, natural moisture is removed from the hide and replaced with tanning agents to preserve it. Over time, these agents evaporate or dry out.
Conditioning is essentially re-hydrating the leather. A good conditioner sinks deep into the pores, lubricating the fibers so they don’t become brittle and break (which looks like cracking).
The Benefits of a Regular Routine:
- Prevents Cracking: Keeps fibers flexible.
- Water Resistance: Waxes in conditioners help repel light rain and spills.
- Restores Color: Revitalizes faded or scuffed areas.
- Enhances Patina: Accelerates the beautiful aging process distinctive to high-quality Moroccan leather.
When Is It Time?
How often should you condition your leather? The standard answer is every 3 to 6 months. However, the real answer is: Listen to the leather.
If you live in a hot, dry climate (like Arizona or Marrakech), you might need to do it more often than someone in humid London.
Signs your leather is thirsty:
- It feels stiff or papery to the touch.
- It looks dull or lighter in color than usual.
- Surface scratches appear easily when you run a fingernail over it.
The Ultimate 5-Step Routine
Turn on some music, pour yourself a drink, and treat this not as a chore, but as a ritual to honor the craftsmanship of your piece.
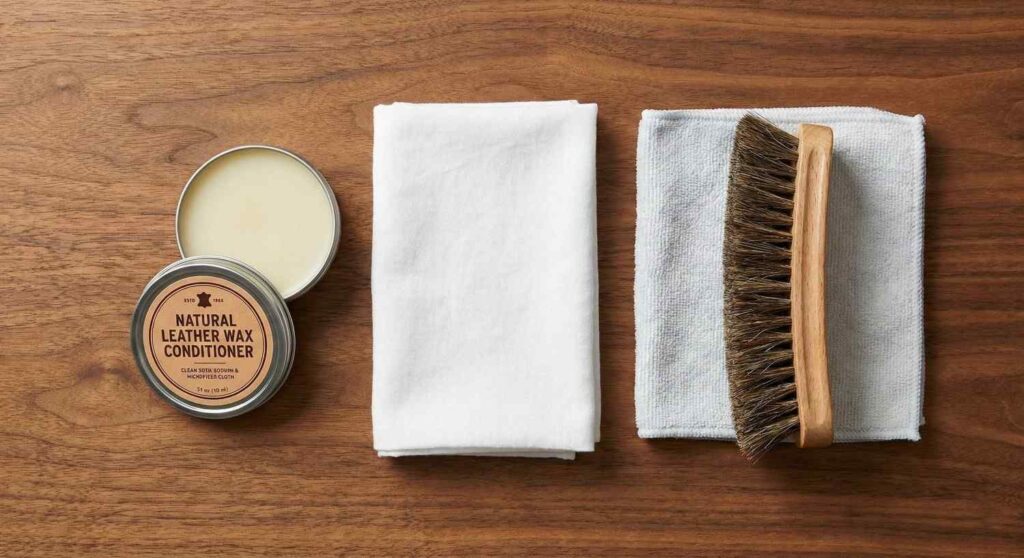
The Toolkit:
- A Gentle Cleaner: A slightly damp cloth (water only) or a dedicated mild leather cleaner.
- The Conditioner: Look for natural ingredients like beeswax, lanolin, or neatsfoot oil. Avoid cheap products laden with silicones or petroleum, which can clog the leather’s pores.
- Applicator Cloths: Two clean, soft, lint-free cloths (old white cotton t-shirts work perfectly) or a small horsehair brush.
Step 1: The Prep and Cleanse
Never condition dirty leather. If you do, you will simply trap dust and grit deep inside the pores, which acts like sandpaper and damages the fibers over time.
Take your horsehair brush or a dry cloth and wipe away surface dust, paying attention to seams and pockets. If there is stuck-on dirt, use a slightly damp cloth to gently wipe it away. Let the bag dry completely—never apply conditioner to wet leather.
Step 2: The Essential Spot Test
This is crucial. Different leathers react differently to conditioners. Some may darken significantly.
Before applying anything to the front of your bag, apply a tiny amount of conditioner to an inconspicuous spot—like the bottom corner or the inside facade of a strap. Let it dry for an hour. If you are happy with the result, proceed.
Note: Quality leather will almost always darken slightly when conditioned. This is normal and usually lightens back up as it dries and absorbs.
Step 3: Less Is More Application
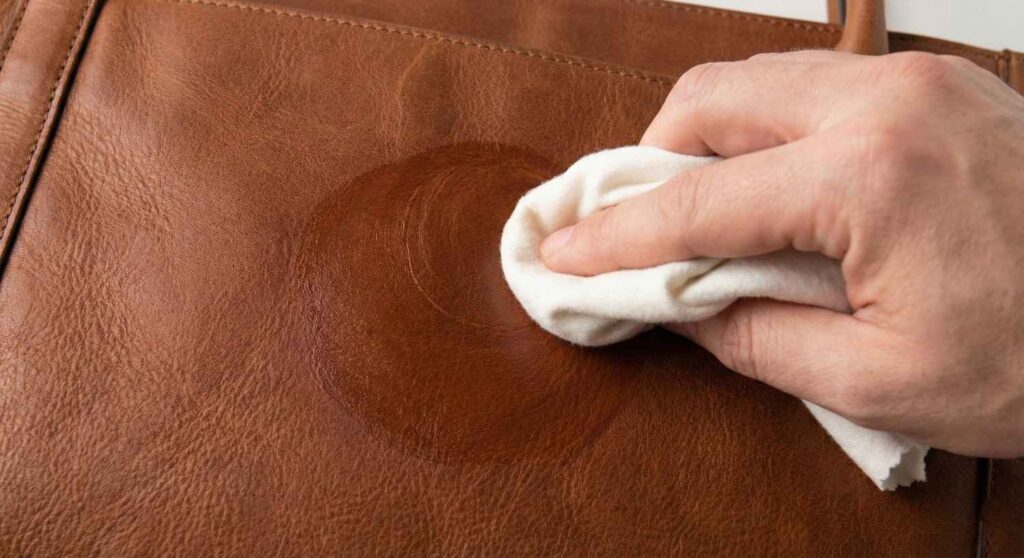
The biggest mistake people make is using too much product. You want the leather to drink the conditioner, not drown in it.
Dab a small amount of conditioner onto your cloth—about the size of a dime for a wallet, a quarter for a small bag. Rub it into the leather using gentle, circular motions. Work in sections, ensuring even coverage across the entire surface. Don’t forget the high-stress areas like straps, corners, and buckles.
Step 4: The Great Wait
Patience is a virtue. Once you have covered the item, set it aside in a cool, dry place away from direct sunlight.
Let it sit for at least a few hours, but preferably overnight. This allows the oils and waxes to penetrate deep into the fibers where they are needed most. If you try to buff it immediately, you’ll just wipe off all the good stuff you just applied.
Step 5: The Final Buff
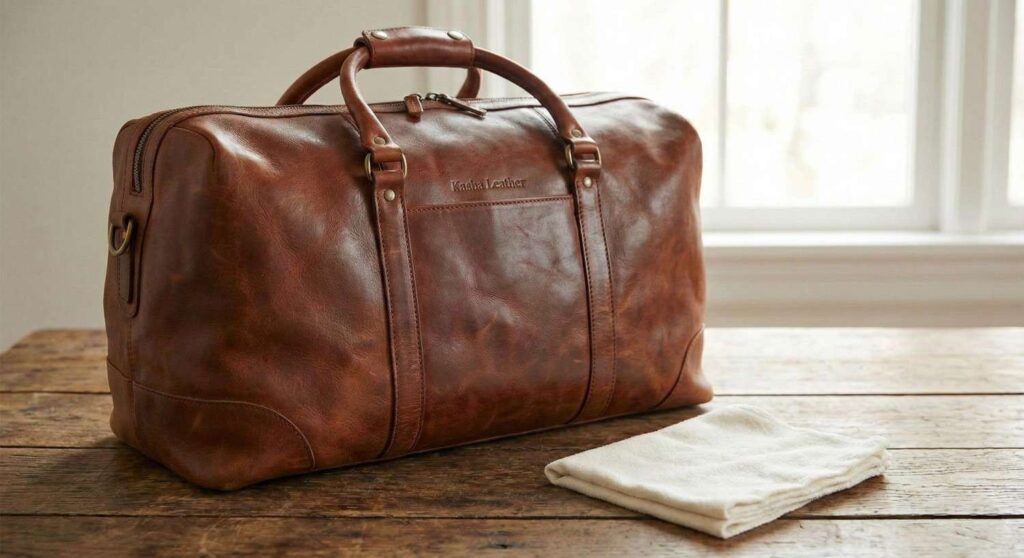
When you return, the leather might look a bit dull or waxy on the surface. This is just excess product that wasn’t absorbed.
Take a fresh, clean, dry cloth and buff the leather briskly using long strokes. This removes the excess and brings back a healthy, subtle shine. The friction generates a little heat, which helps set the waxes for a protective finish.
A Note on Your Kasba Piece
Your Kasba Leather goods are made from hearty, traditional Moroccan leather. It is designed to take a beating and look better for it. Don’t be afraid of the occasional scuff—that’s character.
But by following this simple routine a few times a year, you ensure that the rugged soul of your bag or belt remains unbroken, ready for whatever adventure you throw its way next.


Leave a comment