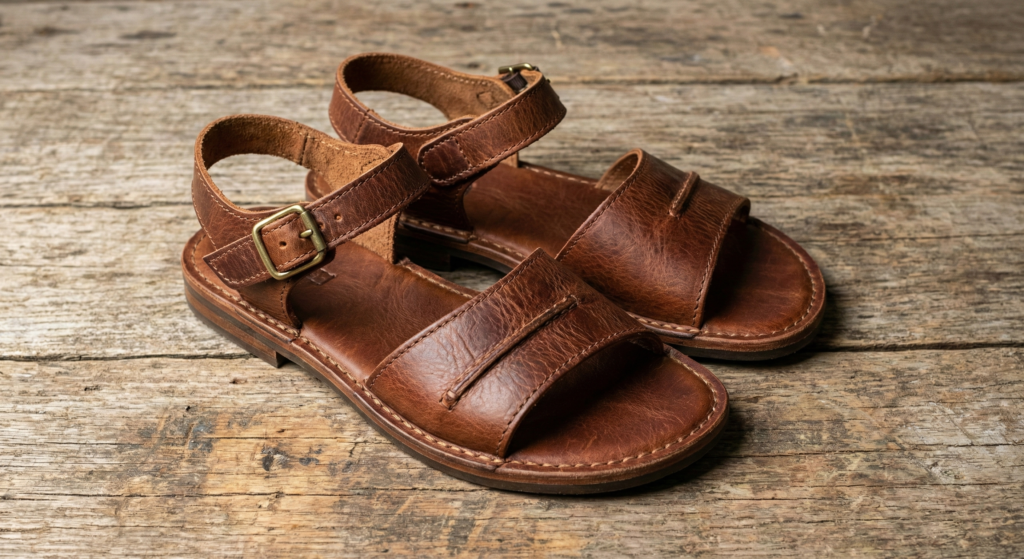
There is something undeniably satisfying about slipping on a brand-new pair of leather sandals — the rich texture, the clean lines, the way they catch the light. But that feeling fades fast the moment those stiff straps bite into your skin and leave angry red marks across your feet. If you have ever bought a gorgeous pair of leather sandals only to shove them to the back of your closet because they hurt too much to wear, you are far from alone.
The good news? Breaking in leather sandals does not have to be a painful, weeks-long process. With the right techniques, you can soften, mold, and stretch your sandals to fit your feet in a fraction of the usual time — and without a single blister. This guide walks you through everything you need to know, from science-backed softening methods to smart blister prevention strategies.
Why Leather Sandals Need Breaking In
Before diving into the how-to, it helps to understand why leather sandals feel so stiff in the first place. Leather is a natural material, and when it is first tanned and crafted into footwear, it retains a rigid structure. That stiffness is actually a sign of quality — it means the sandals are built to last. But it also means they need time and a little encouragement to adapt to the unique shape of your feet.
The areas that typically cause the most trouble are the straps across the top of the foot, the footbed where your sole presses down, and the back of the heel where friction from walking creates the most contact. Understanding where discomfort is most likely to occur gives you a game plan to target those spots early.
Method 1: Start Indoors — The Short-Wear Technique
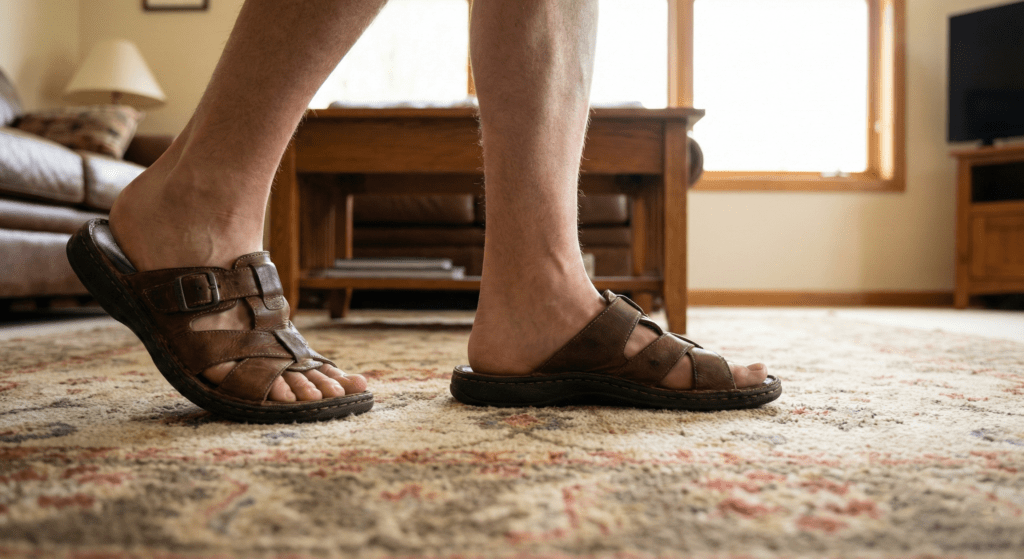
The single most effective strategy is also the simplest: wear your sandals around the house before ever taking them outside. Walking on soft surfaces like carpet allows the leather to gradually soften and begin conforming to the shape of your foot, without the added stress of pavement or uneven terrain.
Aim for sessions of 30 minutes to an hour at a time. Between sessions, give your feet a break. This gradual approach lets the leather flex and stretch at the pressure points without pushing your skin past its limit. Within a few days of consistent indoor wear, you will already notice the sandals feeling noticeably more pliable.
Method 2: Apply Heat With a Hairdryer
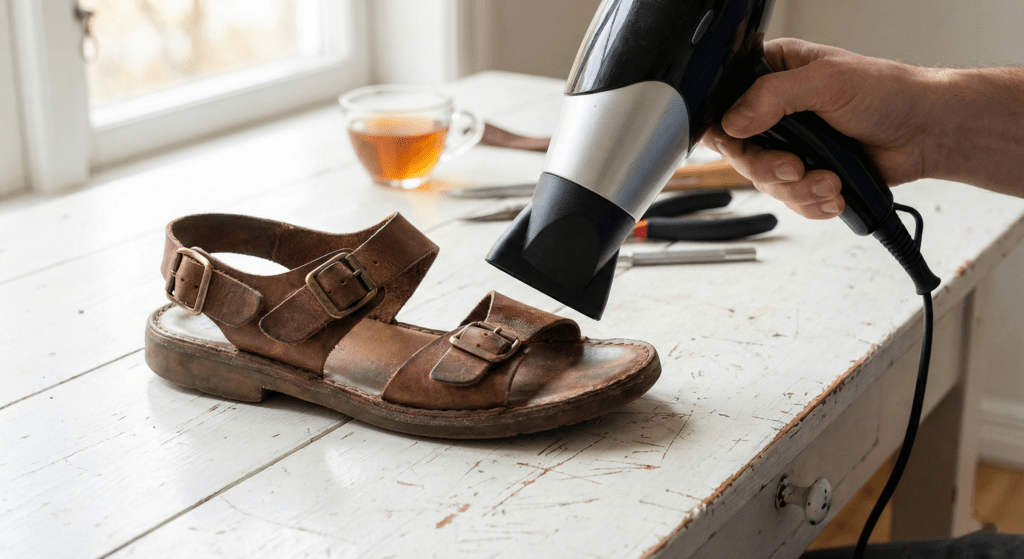
Heat is one of the fastest ways to make leather more supple and workable. A standard household hairdryer is all you need for this method.
Hold the dryer about 30 centimeters (roughly 12 inches) away from the leather and use medium heat in short bursts. Move the dryer constantly — never hold the heat in one spot, or you risk scorching or warping the material. Pay special attention to the straps and any areas that feel particularly tight. If your sandals have metal hardware or decorative accents, be careful to avoid those areas, as metal conducts heat quickly and can become dangerously hot.
Once the leather is warm to the touch (but not hot), slip the sandals on immediately and walk around for several minutes. The combination of warmth and the pressure of your foot helps the leather stretch and mold in real time. Let them cool while you are still wearing them for the best results.
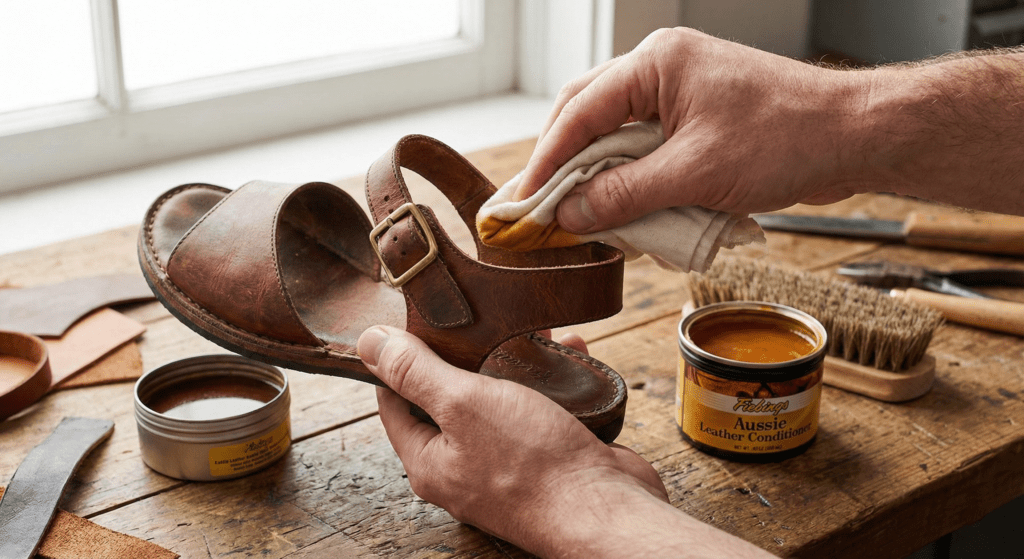
Method 3: Use a Quality Leather Conditioner
Conditioning is not just a post-purchase luxury — it is one of the most reliable tools for speeding up the break-in process. Leather conditioners are wax-based or oil-based products that penetrate the material, restoring moisture and flexibility that the leather may have lost during manufacturing and storage.
To condition your sandals, apply a small amount of product to a soft cloth and work it into the leather using gentle circular motions. Focus on the straps, the footbed, and anywhere the material feels stiff. Let the conditioner absorb for at least 15 to 20 minutes, then wipe away any excess with a clean cloth.
For the best results, condition your sandals the night before you plan to wear them. Overnight gives the leather ample time to absorb the oils and become noticeably softer by morning. Repeat this process two or three times during your first week of ownership.
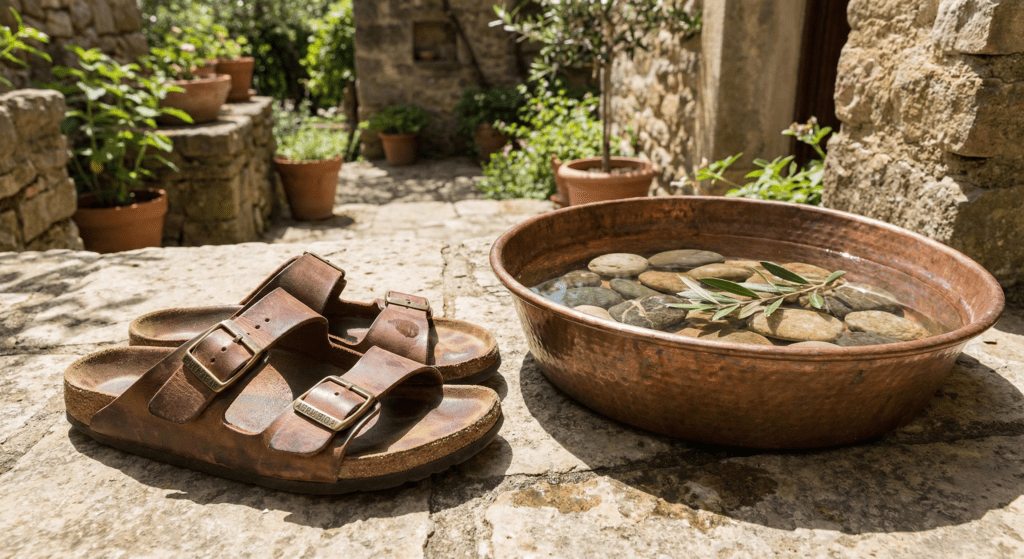
Method 4: The Damp Leather Trick
This method works surprisingly well, though it requires a small test first. Moisture causes leather to become pliable and, as it dries, it retains the shape it was in, which means the shape of your foot.
Before trying this on your full pair, apply a tiny amount of water to a hidden area of the sandal (like the inner sole edge) and let it dry. If the color stays consistent and the leather does not warp, you are good to go. Put on your sandals and step briefly into a shallow pool, a bathtub, or even a bucket of water. Shake off the excess so the sandals are damp — not soaked — then wear them around the house until they dry completely.
If your sandals are particularly delicate or expensive, skip the water method and rely on leather conditioner instead, which achieves a similar softening effect without any moisture risk.
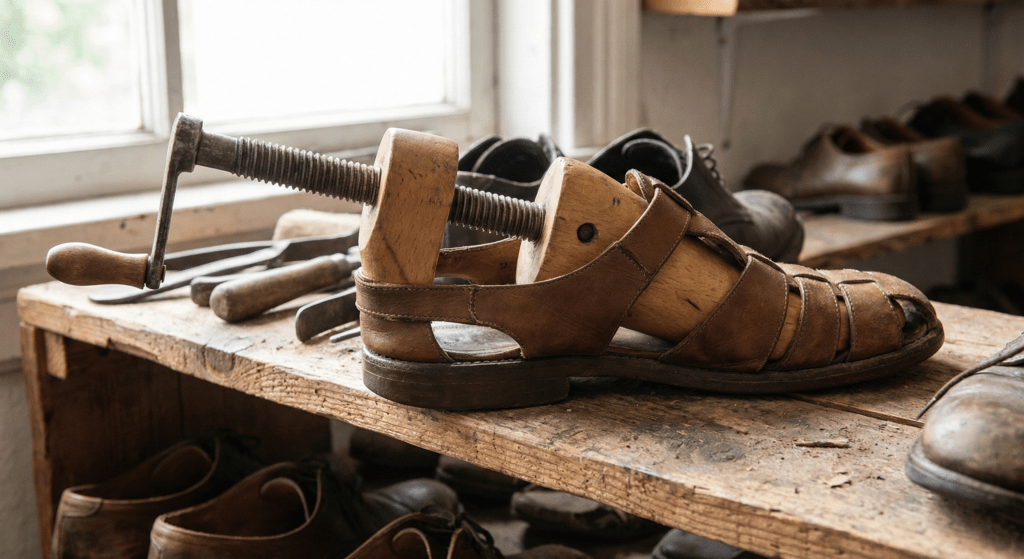
Method 5: Use Shoe Stretchers or Stuffing
For sandals that are tight across the ball of the foot or around the toe area, a shoe stretcher can make a real difference. These simple plastic or wooden devices are inserted into the shoe and gradually expanded to gently stretch the leather over time.
Insert the stretcher, adjust it to a snug fit, and leave it in overnight — or even for a full day between wears. You do not need anything expensive; basic stretchers are widely available for under twenty dollars and work well on most sandal styles.
If you do not have a stretcher on hand, a low-cost alternative is crumpled newspaper or a rolled-up thick sock stuffed into the sandal. The key is to create gentle, even pressure that encourages the leather to give without overstretching it.
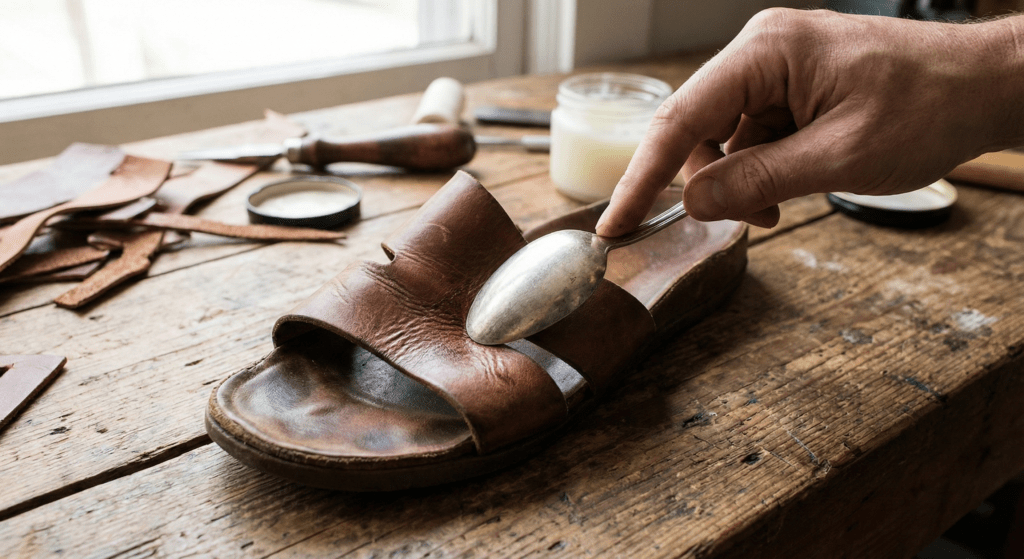
Method 6: Massage the Leather by Hand
This hands-on technique is especially useful for targeting specific tight spots. Using the back of a spoon or simply your fingers, work the leather in the areas where the sandal rubs the most. Press, bend, and twist the material gently to simulate the motion your foot would create while walking.
This method does not replace the other techniques, but it pairs beautifully with heat treatment. After warming the leather with a hairdryer, spend two or three minutes massaging the tight areas while the material is still warm and pliable. The combination accelerates softening significantly.
How to Prevent Blisters During the Break-In Period
Even with the best techniques, some minor discomfort is normal during the first few wears. The goal is not to eliminate all sensation — it is to prevent actual blisters from forming. Here is how to protect your feet while your sandals are still adjusting.
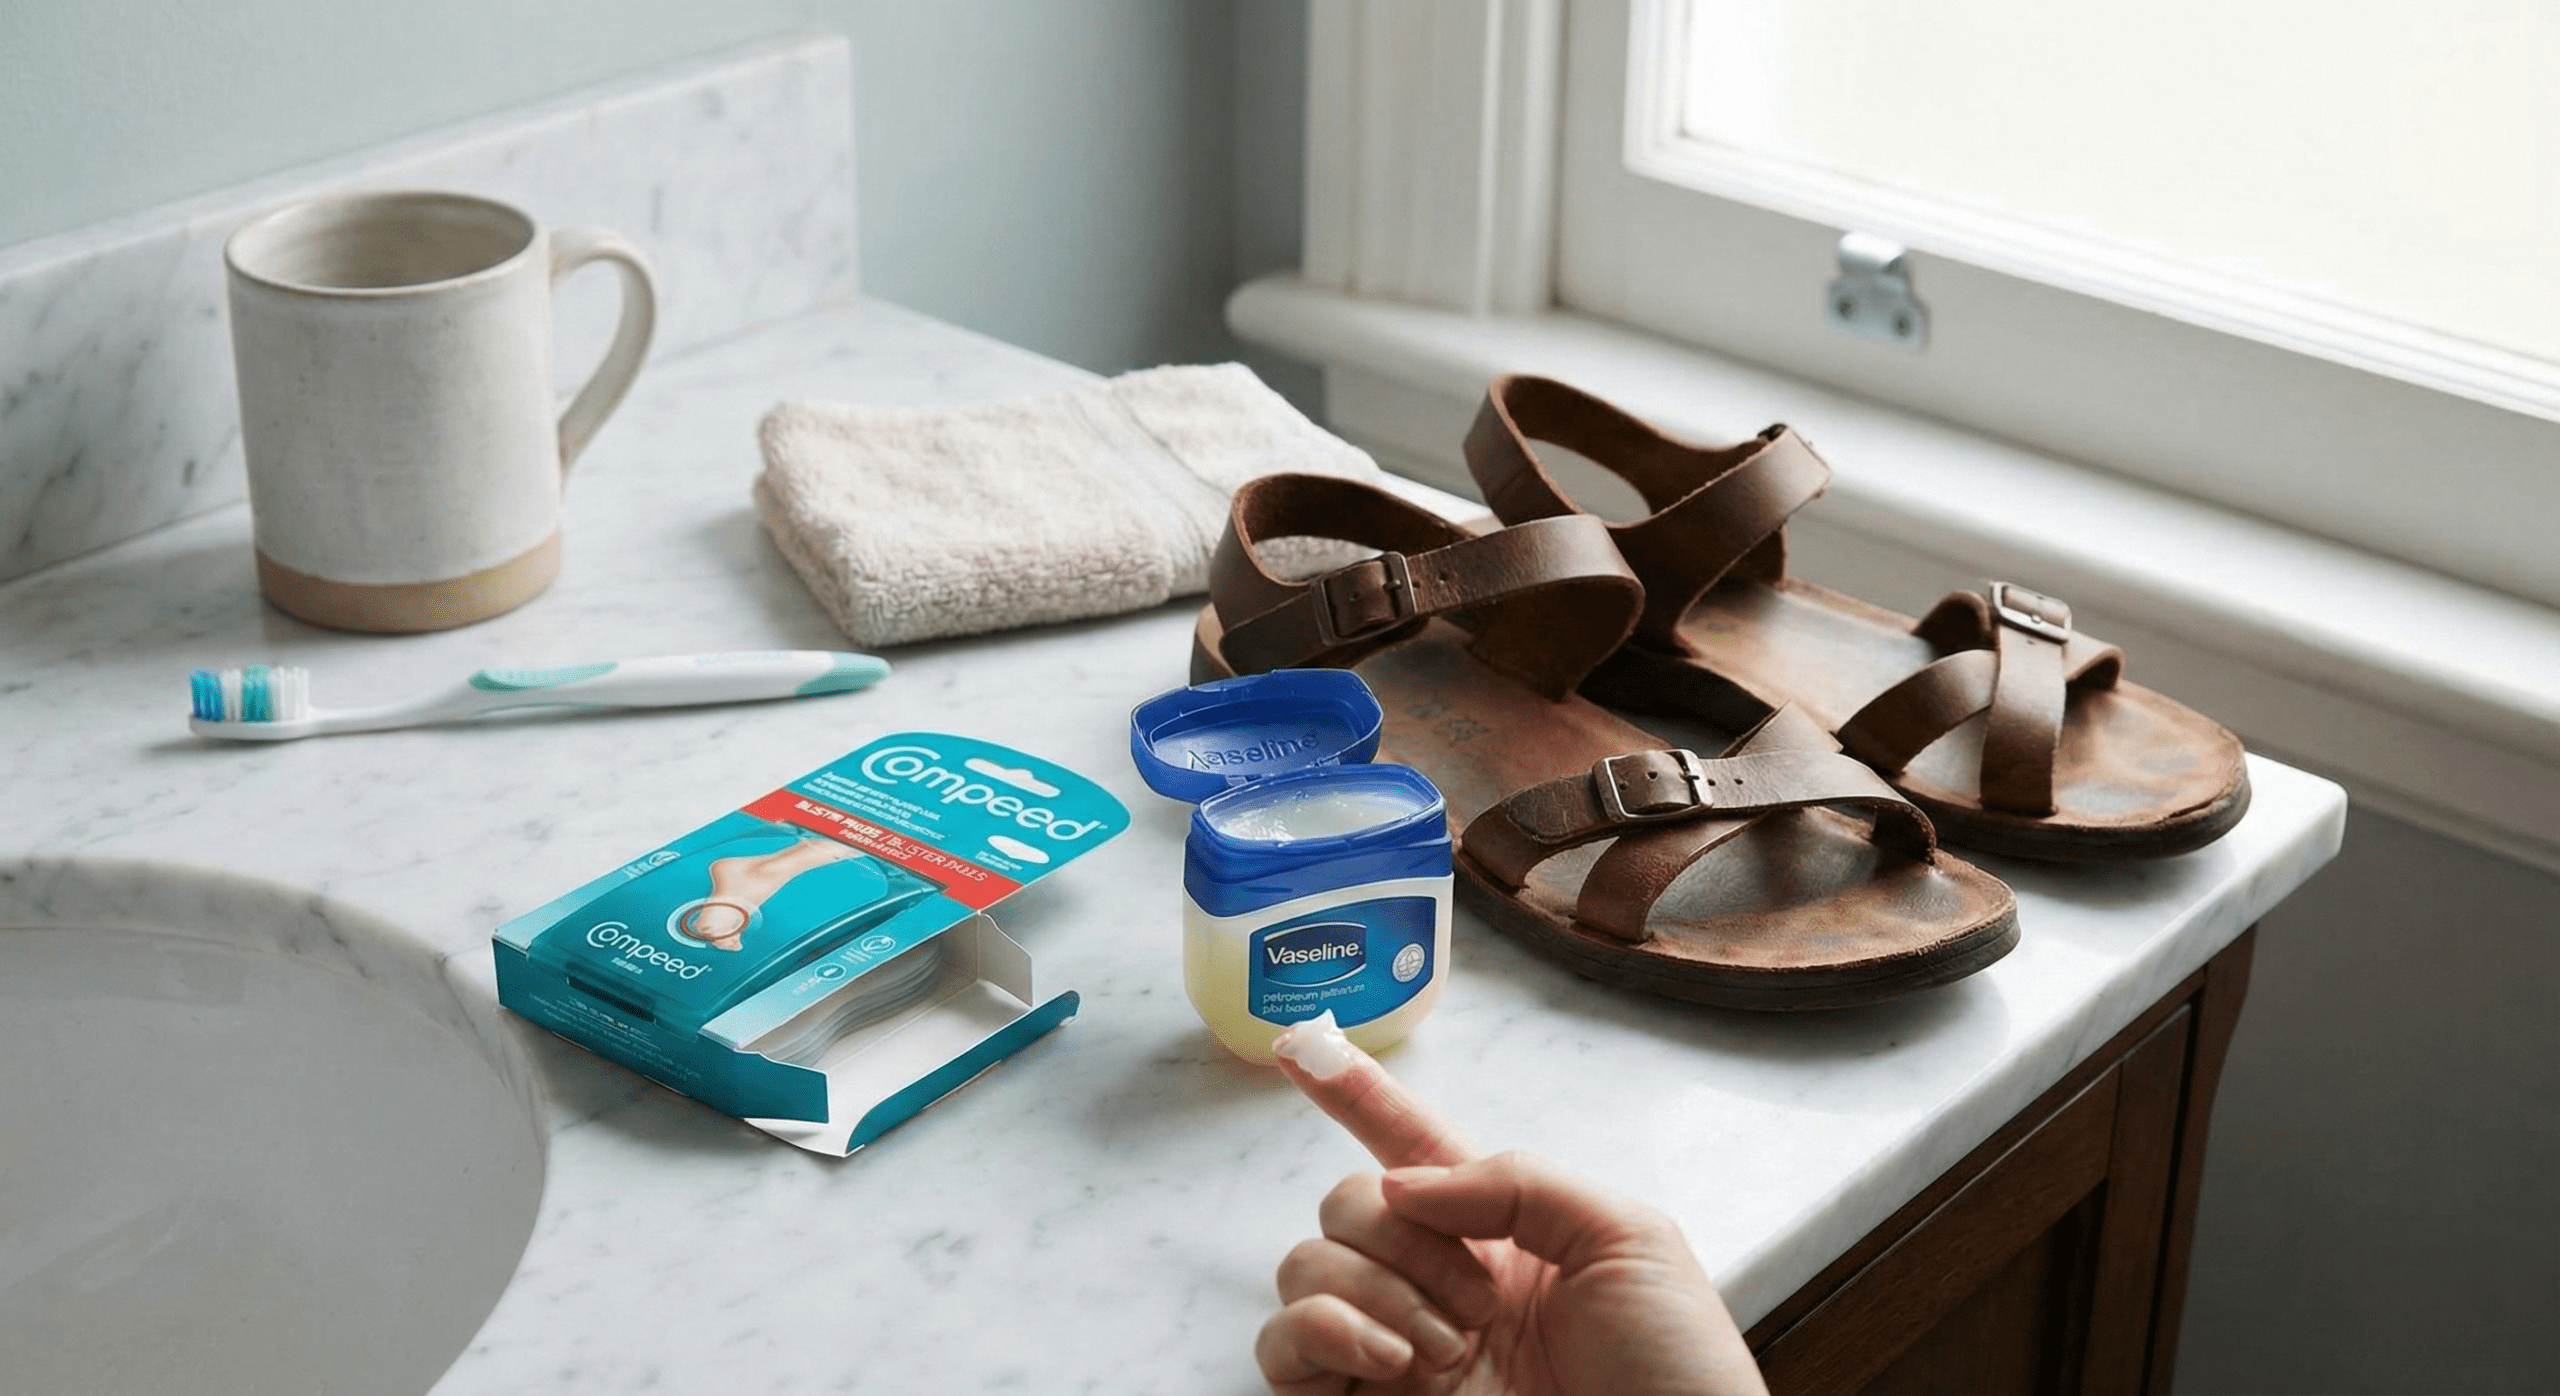
Apply petroleum jelly or an anti-friction balm. A thin layer of Vaseline or a product like Body Glide on blister-prone areas, heels, toes, and the sides of the foot creates a slippery barrier that dramatically reduces friction. Reapply as needed throughout the day.
Use blister pads or moleskin. At the first sign of redness or a “hot spot,” stick a blister pad directly over the area. These cushioned adhesive patches absorb friction before it can damage your skin. Keep a few in your bag whenever you are wearing new footwear.
Keep your feet dry. Moisture significantly increases the chance of blisters. A light dusting of foot powder before you put on your sandals can absorb sweat and reduce the slippery conditions that lead to skin irritation.
Wear socks indoors when possible. Thick socks serve double duty: they add cushioning to protect your feet and they put gentle pressure on the leather, helping it stretch faster. This trick is particularly effective when combined with the hairdryer method.

How Long Does It Actually Take?
The honest answer depends on the leather and the sandal. Softer, full-grain leather sandals with a leather footbed can feel comfortable within a week of consistent wear, especially if you use conditioning and heat treatments to speed things along. Sandals made from stiffer or thicker leather, or those with intricate strap designs, may take two to three weeks.
The key is consistency. Wearing your sandals in short, regular sessions is far more effective than forcing a single long outing and suffering through it. Alternate them with other shoes so the leather has time to retain its shape between wears.
Long-Term Care: Keeping Your Sandals Soft
Once your sandals are broken in, a little ongoing care will keep them feeling great for years. Condition them every few months to prevent the leather from drying out and becoming stiff again. Store them in a cool, dry place away from direct sunlight, which can fade and crack leather over time. If they get wet, let them air-dry naturally; never use direct heat to speed the process.
A well-maintained pair of leather sandals only gets better with age. The leather molds further to your foot, the footbed conforms to your arch, and the patina deepens into something truly personal.
Final Thoughts
Breaking in leather sandals does not have to mean suffering through blisters and sore feet for weeks on end. By combining a few simple techniques — indoor wear, heat treatment, conditioning, and smart blister prevention — you can have your sandals feeling custom-fit in days rather than weeks. Be patient, be consistent, and take care of your feet along the way.
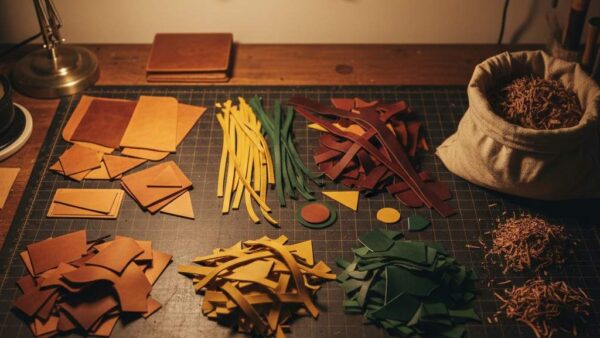
That said, not all leather is created equal — and the type of leather your sandals are made from makes a massive difference in how quickly they conform to your feet. At Kasba Leather, we work exclusively with lamb and goat leather, two of the softest and most supple hides available. These leathers are naturally thin, lightweight, and incredibly flexible right from the start, which means they mold to the shape of your foot almost immediately — with little to no break-in period and virtually no risk of blisters. So if you are tired of fighting stiff straps and sore heels every summer, Kasba leather sandals were made with your comfort in mind from day one.


Leave a comment